A club for garden enthusiasts of southeast Kansas
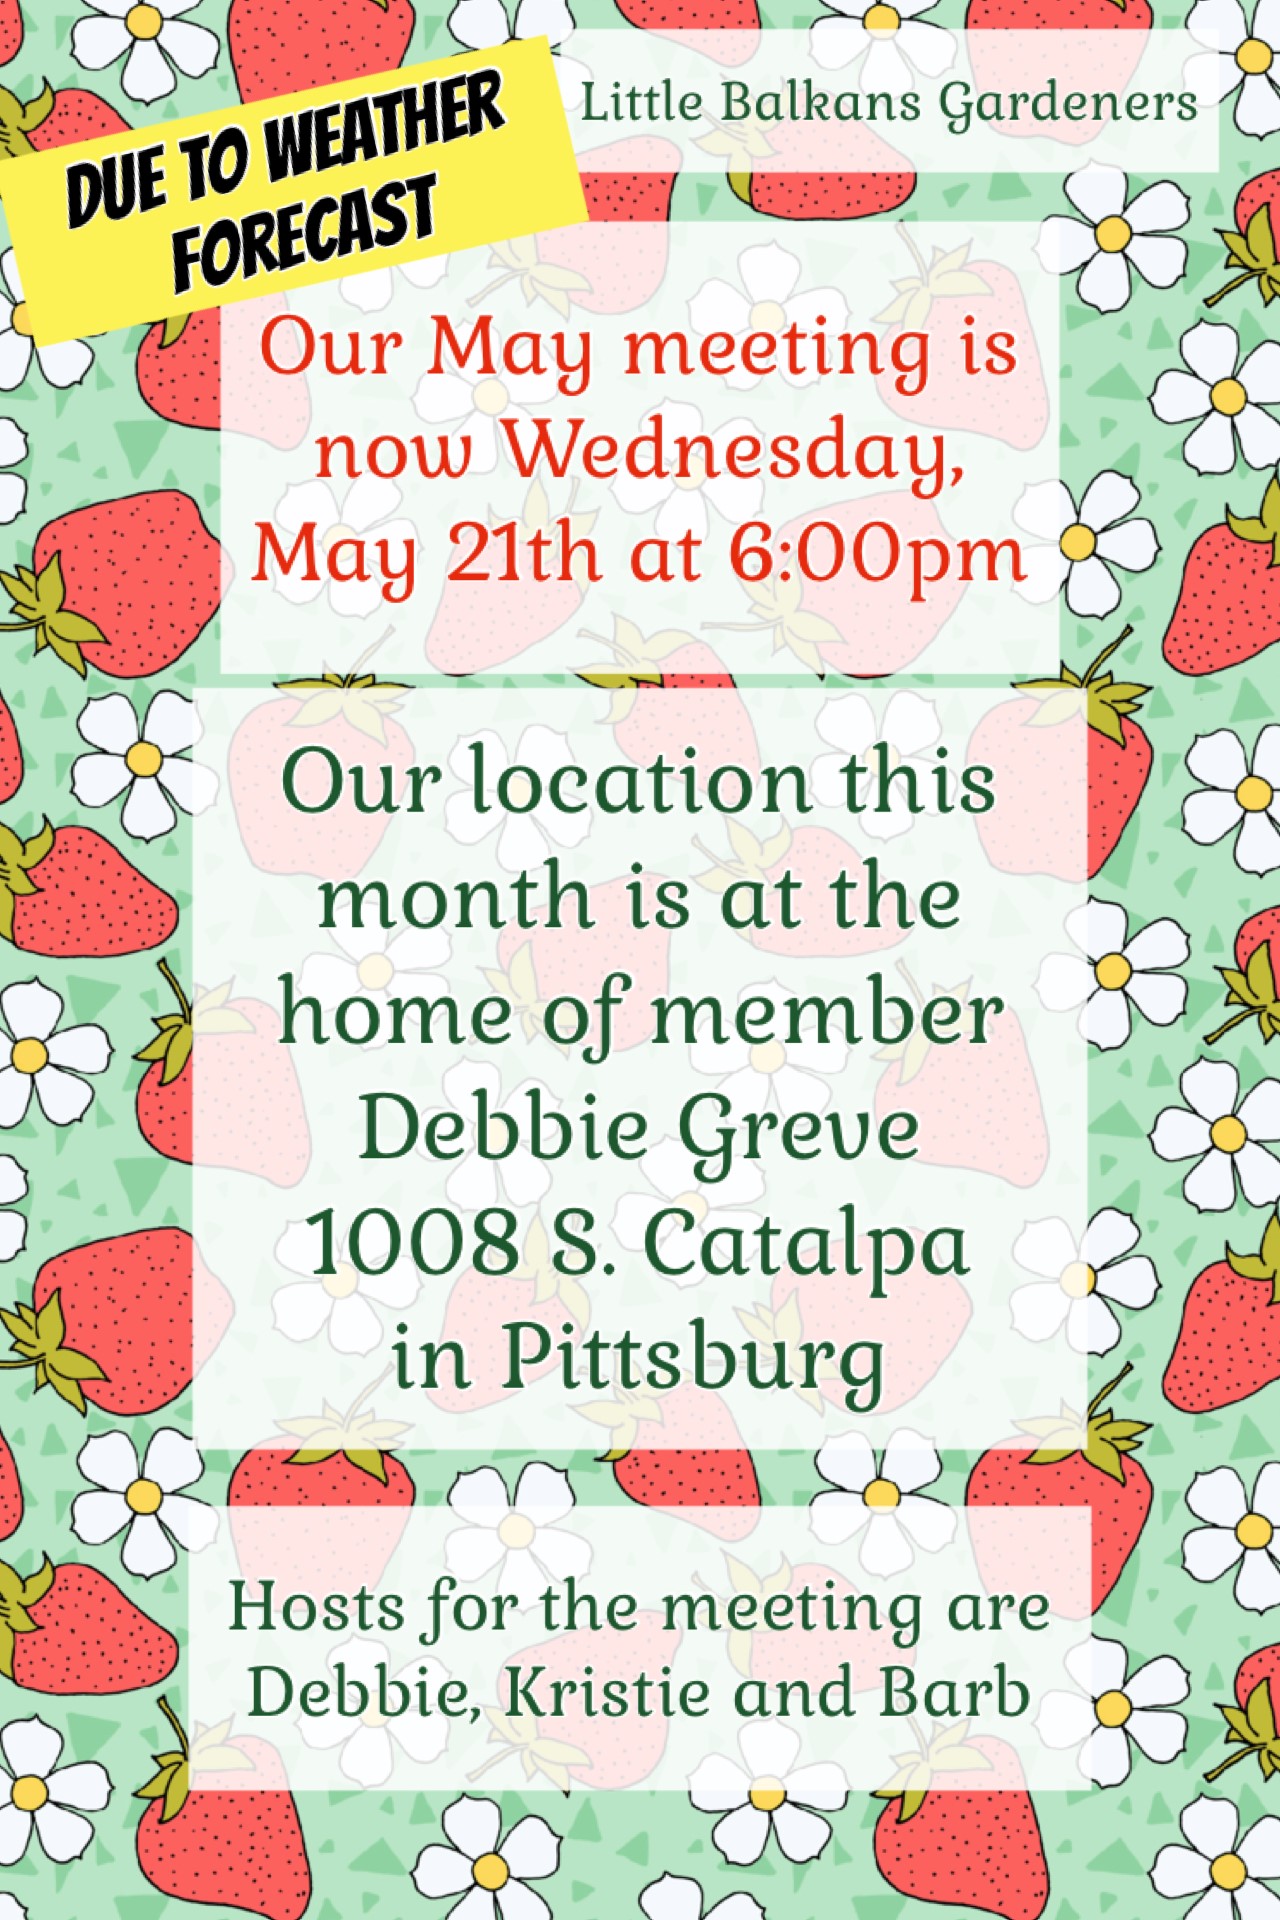
Due to the weather, Our May meeting has changed to Wednesday this month!